Thursday, May 31, 2012

Stuck!

So in doing exercise 3 in tutorial 8 (picking) today, I ran into a problem with adding a custom name to a Spatial (Geometry's parent class).  In this case, I wanted to name the Golem in the scene to "test" for easy testing to see if it was the closest object hit by a ray cast.  Doing the following test when the golem spatial is initialized and loaded works fine:
...
golem.setName("test");
System.out.println(golem.getName() + "!!!");
...

the output is "test!!!" in the console as expected.  However, doing the following after doing a ray cast does not work:

...
Geometry closestGeom = closest.getGeometry();   //This is the golem when he is clicked on.
System.out.println(closestGeom.getName() + "###");   //should be outputting "test"...
...

What is output is "Oto-geom-1###", which seems like an auto generated name made from its filename or a name in its .xml file.  If I changed my if statement to check for that name (Oto-geom-1) then everything would work fine.  However, I really need to figure out how to add custom names to objects.  Hopefully the solution will come to me asap...
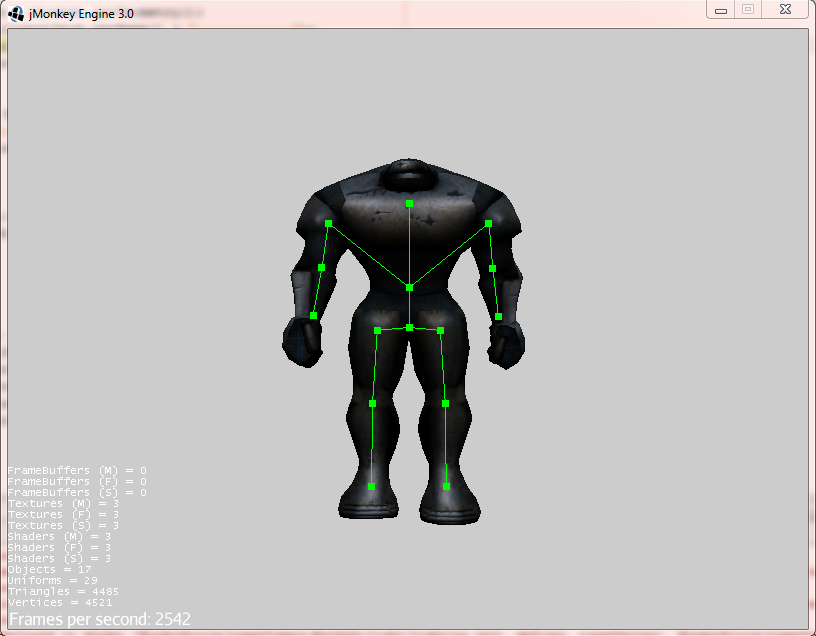
Picture:
Note: The red dot is the hit indicator, where the user last clicked on the model and made it rotate.


Fixed Edit:
So as I was trying a workaround of adding the golem to new node (named "golemNode") and then using that node as the character identifier, when I figured out the original problem.  When I ran these two lines after the ray cast:

System.out.println(closestGeom.getName() + "------------");
System.out.println(closestGeom.getParent().getName() + "------------");

I was expecting to get in the console:

Oto-geom-1------------
golemNode------------

However I instead got:

 Oto-geom-1------------
test------------

"test" being the original name I had been giving the spatial.  Calling getParent() one more time in the above System.out would indeed print "golemNode-------".  I am stuck no more!

Getting into Blender

Next up in the tutorials was 3D animations.  This is one aspect of game making that I have no experience with, so I was very interested in seeing how it was done.  I have worked a little in Blender in the past so I was not completely overwhelmed, though I was a little surprised at what I found for animations.

The jMonkeyEngine tutorials encourage (requires?) people to use the Ogre xml format, which can be output from blender using a free plugin, for 3D modeling and animation.  Looking inside one of the files generated, the skeleton.xml file, it's very interesting to see how animation works!  Basically, they have the concept of "bones" which they attach to each other in a tree, and each bone represents a different mesh in the object.  Next, the xml file will have many animations defined (walking, standing, etc), with each animation further divided into different tracks.  These tracks are used to control each bone in that animation.  In a bone's track, there are many keyframes that are locked to a specific time (in my xml file it's to the 6th decimal place of a second) which will translate, rotate, and scale that bone at that time.  Here is a small sample of a track in my xml file:

<track bone="spine">
                    <keyframes>
                        <keyframe time="0.000000">
                            <translate x="0.000000" y="-0.161123" z="0.000001"/>
                            <rotate angle="0.000000">
                                <axis x="0.000001" y="0.000005" z="1.000000"/>
                            </rotate>
                            <scale x="1.000000" y="1.000000" z="1.000000"/>
                        </keyframe>
                        <keyframe time="0.040000">
                            <translate x="0.000000" y="-0.310063" z="-0.000007"/>
                            <rotate angle="0.044933">
                                <axis x="0.000000" y="-0.000000" z="1.000000"/>
                            </rotate>
                            <scale x="1.000000" y="1.000000" z="1.000000"/>
                        </keyframe>
                        ...

This very simple animation file itself is 8801 lines long, so it's easy to see why assets in video games are what take up the vast majority of the disk space used.

Next up, picking in jMonkeyEngine!

Picture:

Tuesday, May 29, 2012

Hello World

In traditional CS fashion, Hello World!!!

Today I started on my summer research project in making Wind Explorer in a 3D environment, for which I am using the jMonkeyEgine.  So far I am liking this engine, along with its website and tutorials.  To compare against, I have used the Unity game engine before as well as some direct X experience.

Today I got through the first 6 tutorials, finishing almost all of the exercise in each tutorial.  Although I did things a little differently after the 3rd tutorial, as I kept on with the same project from then on and just added each tutorial's aspect to my project, instead of creating a new project and copy-pasting the sample code like the tutorials want.  This was I got more hands on with the code and ended up with a much bigger, cooler, project.

One difference between Unity and jMonkeyEngine that I like so far is that jMonkeyEngine uses a tree structure for object handling.  What this allows for is mass changes of grouped objects.  For example, if you have all the trees in a level under a parent tree node, if you change the rotation of that parent node then all the children will also rotate.  Also, the location of the parent node acts like the origin of the children node, which might be a very useful feature.

Edit: Here is a good visual representation of this tree structure:
Link

That's if for today, tomorrow I plan on finishing up the tutorials, or at least come as close as I can.

Picture:

Video: